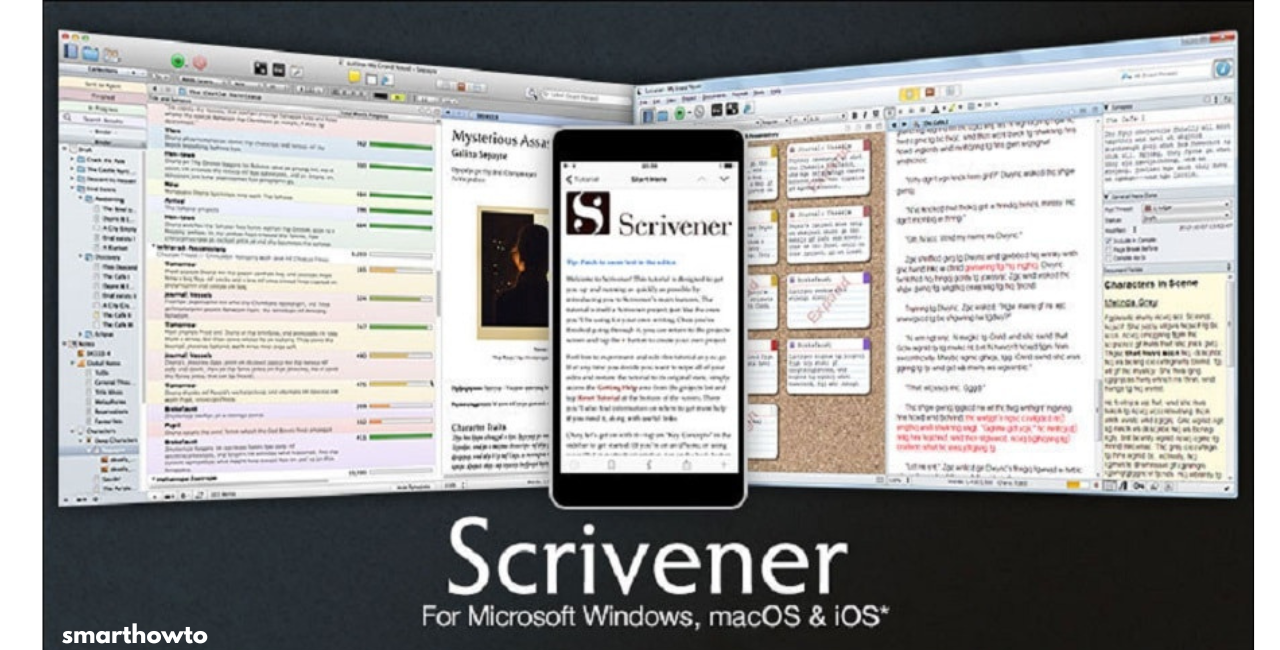
Scrivener has become the go-to writing tool for authors, screenwriters, researchers, and anyone working on long-form content. Its organizational features, especially the ability to structure and manage chapters, are what truly set it apart. But for beginners or even seasoned writers new to the software, learning how to create chapters in Scrivener can be a bit overwhelming at first.
Here’s a friendly, easy-to-follow guide for anyone wondering how to get started with creating chapters in Scrivener—whether you’re writing a novel, nonfiction book, or a series of articles. This guide breaks down everything in plain English, step-by-step.
What Makes Scrivener So Special?
Before diving into how to create chapters, it’s worth understanding why Scrivener is such a powerful writing platform.
Unlike traditional word processors, Scrivener isn’t just about writing—it’s about organizing. The software lets writers break their content into folders, scenes, and chapters. This flexibility makes outlining, editing, and navigating through your manuscript a breeze.
For those unfamiliar with the interface, Scrivener uses a “binder” on the left side of the screen. Think of it like a digital filing cabinet. Each item in the binder can represent a document, a chapter, or even an entire part of your book.
Starting a New Project in Scrivener
The first step in your Scrivener journey is creating a new project. Scrivener offers a wide range of templates, including fiction, nonfiction, and scriptwriting templates. For this guide, let’s assume you’re working on a novel.
- Open Scrivener.
- Click on File > New Project.
- Choose the Fiction category.
- Select Novel (or Novel with Parts if you plan to have multiple parts in your book).
- Name your project and save it.
Once your project opens, you’ll see the binder with preloaded folders like “Manuscript,” “Characters,” and “Research.”
Understanding the Binder and Manuscript Folder
The Manuscript folder is where all your actual book content goes—this is where you’ll create your chapters and scenes. Under this folder, you’ll usually see some sample folders labeled “Chapter” and “Scene.”
Each chapter in Scrivener is usually represented by a folder, and scenes within the chapter are created as text documents inside those folders. This structure allows for an easy overview of your project.
How to Create Chapters in Scrivener (Step-by-Step)
1. Create a New Folder for Each Chapter
To create a new chapter, do the following:
- Right-click on the Manuscript folder.
- Select Add > New Folder.
- Name the folder something like “Chapter 1” or give it a working title.
Scrivener treats folders inside the Manuscript section as chapters by default when compiling. You can also customize how these appear later during formatting and exporting.
2. Add Scenes Inside the Chapter
Once your chapter folder is created, you can add scenes (text documents) within it:
- Right-click on the new chapter folder.
- Choose Add > New Text.
- Label the text document based on the scene or keep it generic (like Scene 1).
You can create as many scenes as you like inside each chapter folder. This is helpful if you’re someone who writes in fragments or likes to shuffle scenes around.
Tips for Naming and Structuring Chapters
While Scrivener doesn’t force you to name chapters “Chapter 1,” “Chapter 2,” etc., keeping things labeled properly helps with organization—especially during compilation.
You can always rename them later, or even automate the numbering system during the compile process.
Here are some tips:
- Use simple titles (e.g., Chapter 1: The Arrival).
- Use placeholders if you’re unsure (you can change them later).
- Avoid overly long folder names—they clutter the binder.
Using the Corkboard for Chapter Management
One of Scrivener’s most loved features is the Corkboard view. Once you’ve created a few chapters (folders), click the Corkboard icon in the top middle toolbar while selecting the Manuscript folder.
The Corkboard lets you:
- View all your chapter folders as index cards.
- Add synopses for each chapter.
- Rearrange the order by dragging and dropping.
It’s an excellent way to visualize your story’s flow and pacing.

Drag-and-Drop Simplicity
Another advantage of Scrivener is how easy it is to reorganize chapters.
Let’s say Chapter 3 actually works better before Chapter 2. Just grab the folder and drag it to where you want it in the binder. Scrivener will instantly update the order without breaking any internal structure.
Chapter Formatting and Compilation
Once your chapters are written and structured, you’ll eventually want to compile your manuscript into a final format (e.g., PDF, DOCX, or ePub).
Here’s where Scrivener really shines:
- Go to File > Compile.
- Choose your output format (e.g., Manuscript (Courier), Paperback, eBook).
- Scrivener will recognize folders as chapters.
- You can customize headers, footers, title pages, and more.
Make sure “Include in Compile” is checked for each chapter and scene in the binder.
Also Visit 👉 How to Teach Hurdle Techniques
Adding Chapter Numbers Automatically
If you don’t want to manually name each chapter with a number, Scrivener lets you automate it using placeholders.
Example:
- In your folder title, write:
Chapter <$n>
Scrivener will replace<$n>with a sequential number when you compile the project.
This is especially useful if you rearrange chapters often. The software will renumber automatically based on their current order.
Bonus: Color Coding Your Chapters
Want to stay extra organized?
Scrivener allows you to apply label colors to folders (chapters) and scenes. You can use these to indicate draft status (e.g., first draft, revised, final), point-of-view, or themes.
Here’s how:
- Go to View > Use Label Color In > Binder.
- Right-click a folder and select a Label (or create a custom one).
This visual cue can help writers keep track of progress across different chapters.
Final Thoughts
Creating chapters in Scrivener doesn’t have to be intimidating. Once you understand the basics—using folders for chapters and text documents for scenes—it becomes second nature. The more you use Scrivener, the more you’ll appreciate its flexible structure and deep customization options.
Whether you’re outlining a novel, drafting a memoir, or planning an academic thesis, knowing how to create and manage chapters in Scrivener will streamline your writing process and keep your manuscript organized from start to finish.
Quick Recap: How to Create Chapters in Scrivener
- Start a new project and open the Manuscript folder.
- Use folders to represent each chapter.
- Add text documents inside folders for scenes.
- Rename folders as needed for clarity.
- Use the Corkboard to visualize and rearrange chapters.
- Automate chapter numbering with
<$n>. - Format and compile with ease using built-in templates.
If you’re just starting out, don’t worry about getting everything perfect. The beauty of Scrivener is that it’s built to grow with your writing process. With this easy guide on how to create chapters in Scrivener, you’re already on the path to mastering one of the most powerful tools a writer can have.
